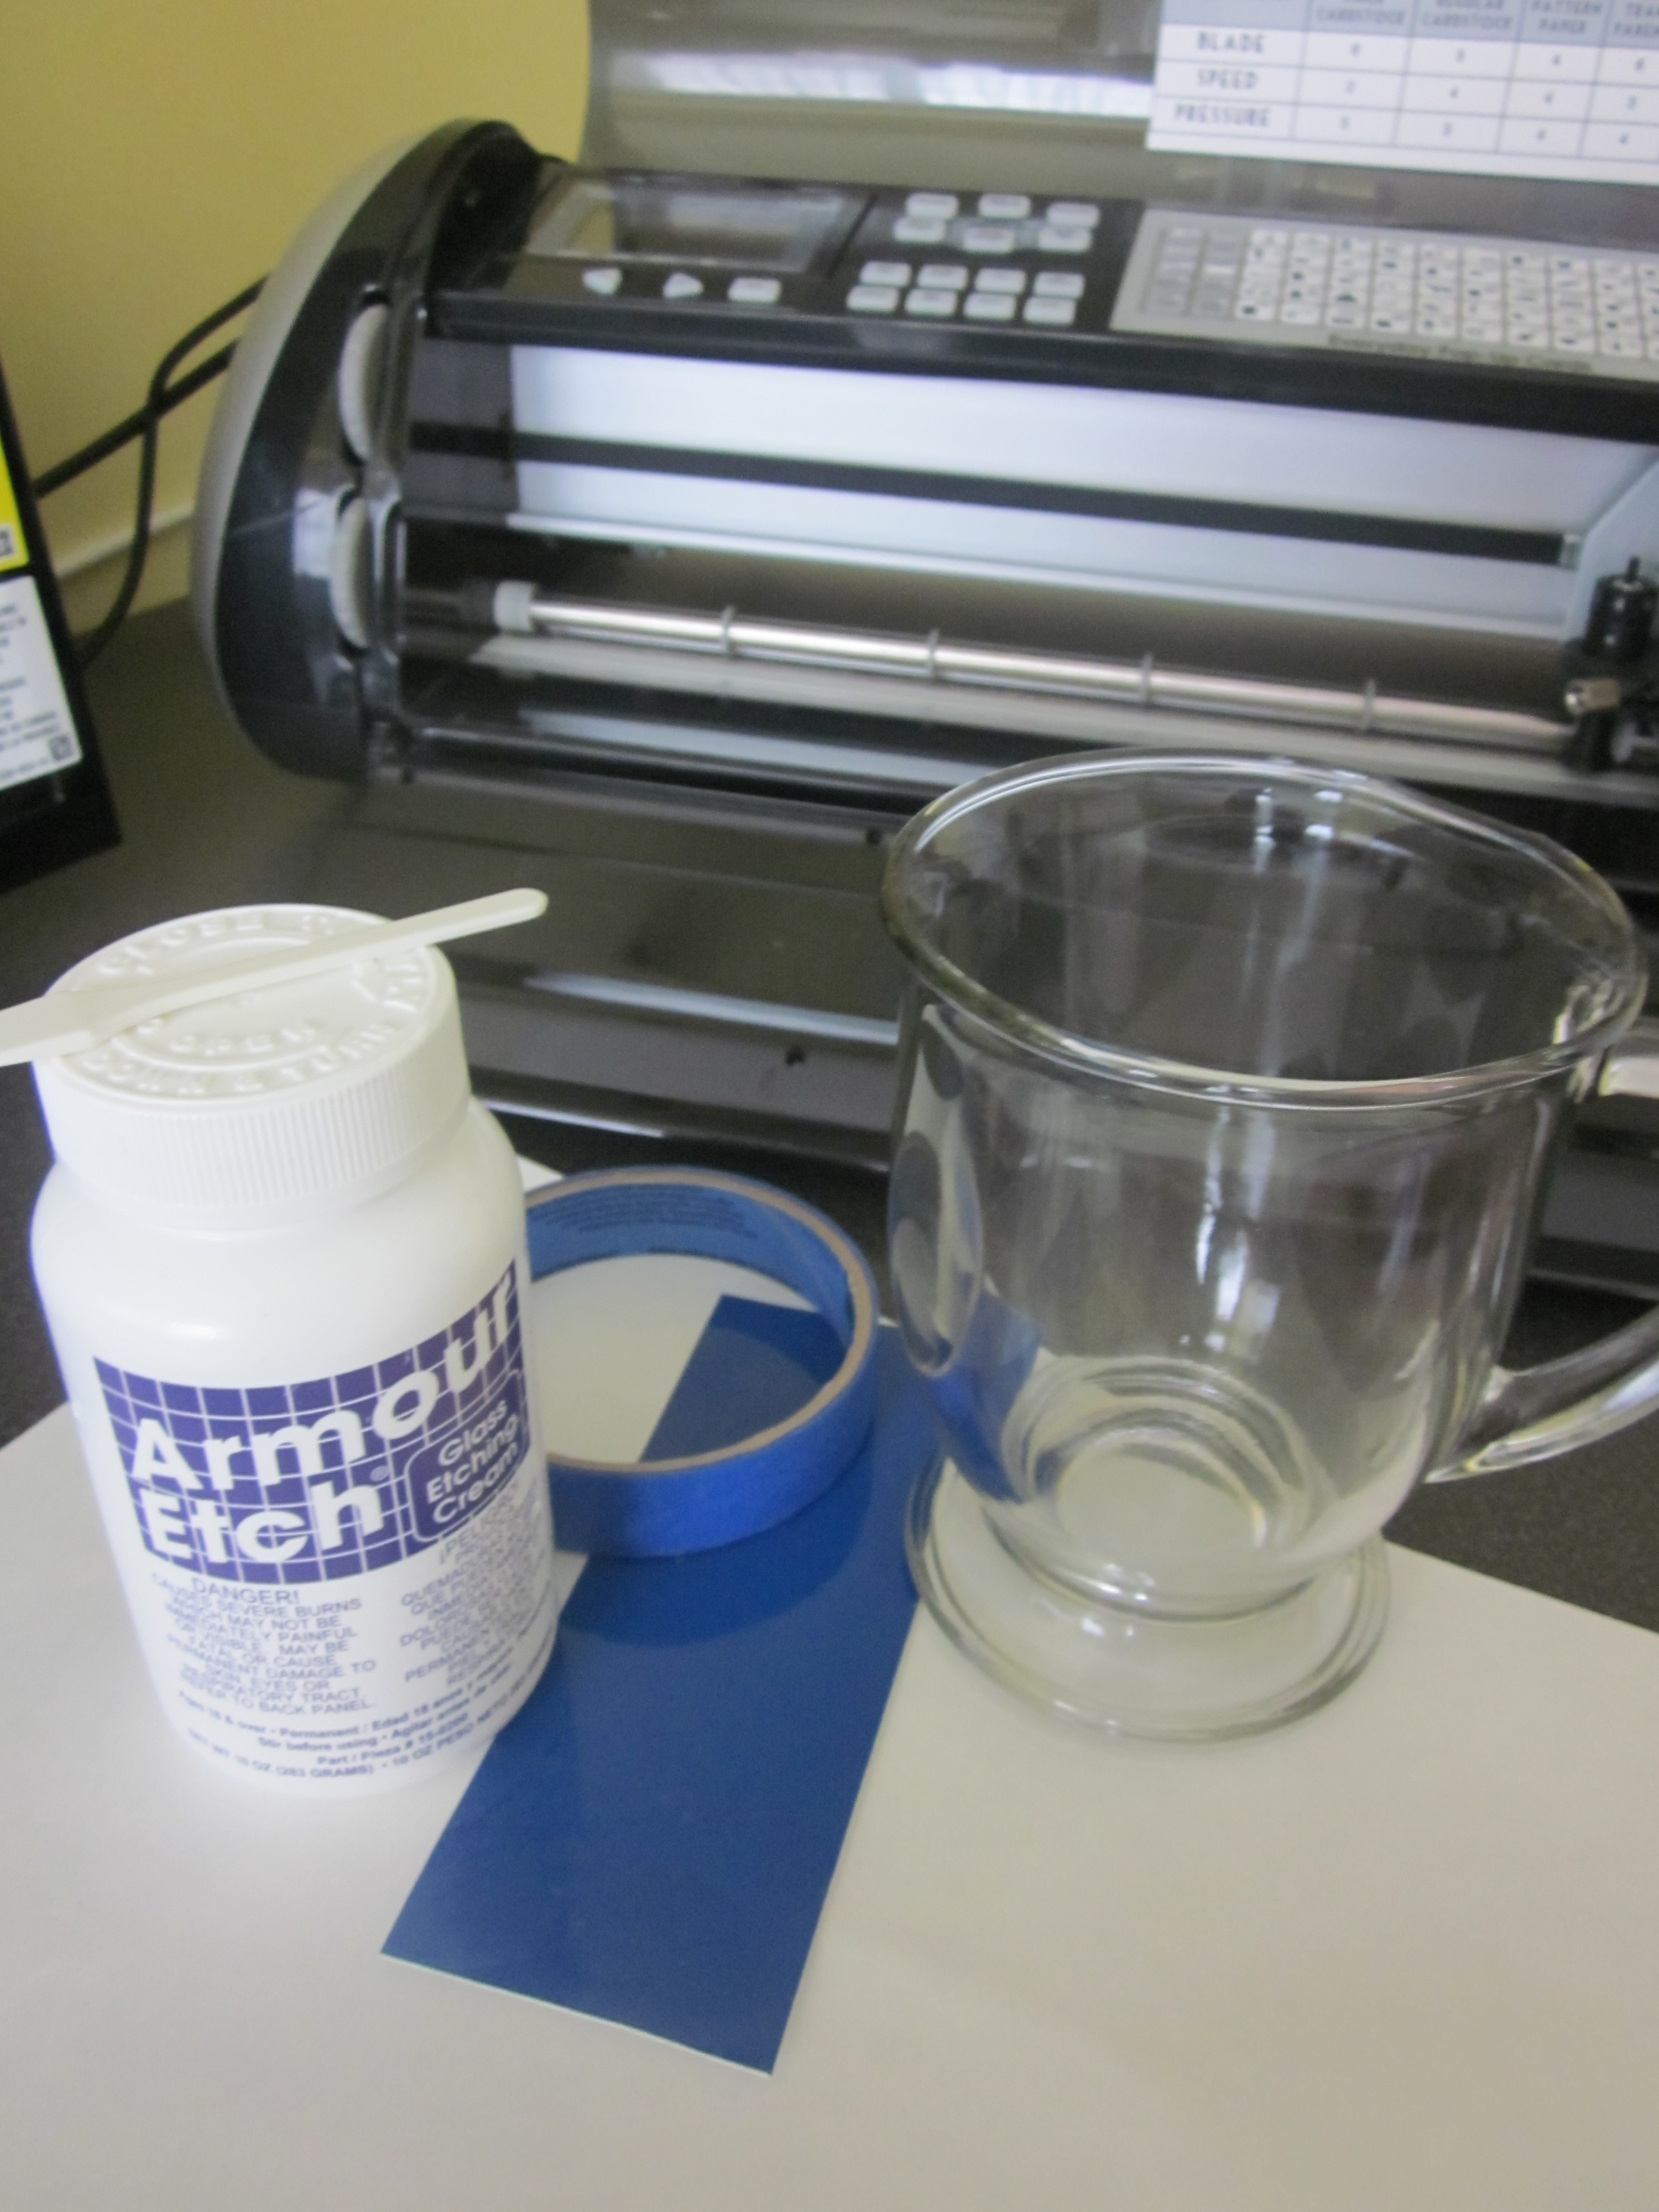
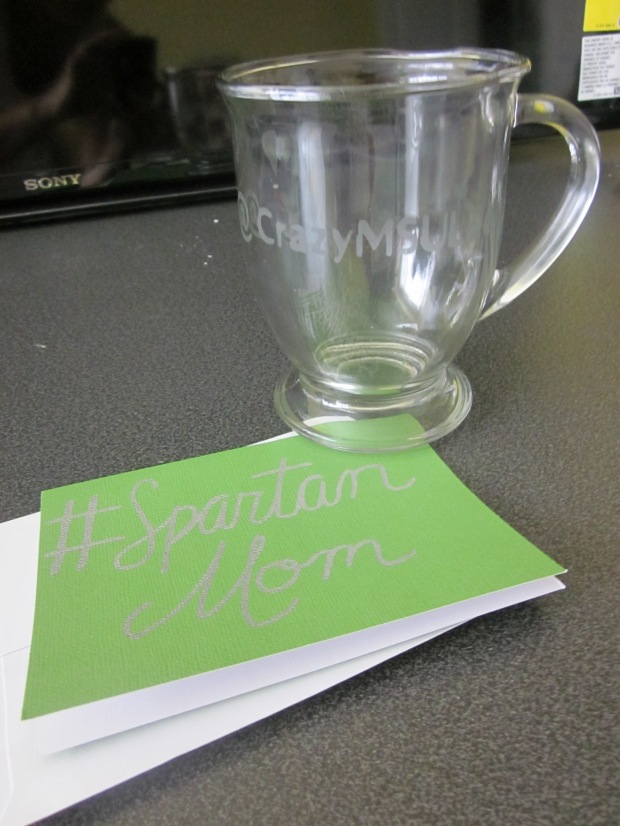
Hi there! Today I’m sharing one of my absolute favorite DIYs- glass etching! My mom, being the craft goddess that she is, first shared how to do this a couple years ago and since then it’s been my go to for personalized gifts. One of the coolest Spartans I’ve ever met, everyone’s #SpartanMom, MaryLou Moore actually gave me the idea for this post a while ago. She tweeted out a picture of a coffee mug with her name on it and said something along the lines of not being able to find one that said “@CrazyMSULady.” I thought, what a perfect example of how to personalize a gift for someone awesome in your life. So MaryLou, thanks for the inspiration! And I now have a gift that will be waiting for you the next time you come to East Lansing ;) Picture heavy post coming- be warned :)  First up- supplies! You’ll need -The piece of glass you would like to etch -Vinyl -Armour Etch (which can be found at your local craft store. We picked ours up at Michaels) -Painters tape -A plastic tool for applying the Armour Etch -Contact paper -The gypsy -And last but not least, a cricut machine! (which I could probably do an entire post on- it’s AWESOME!)
 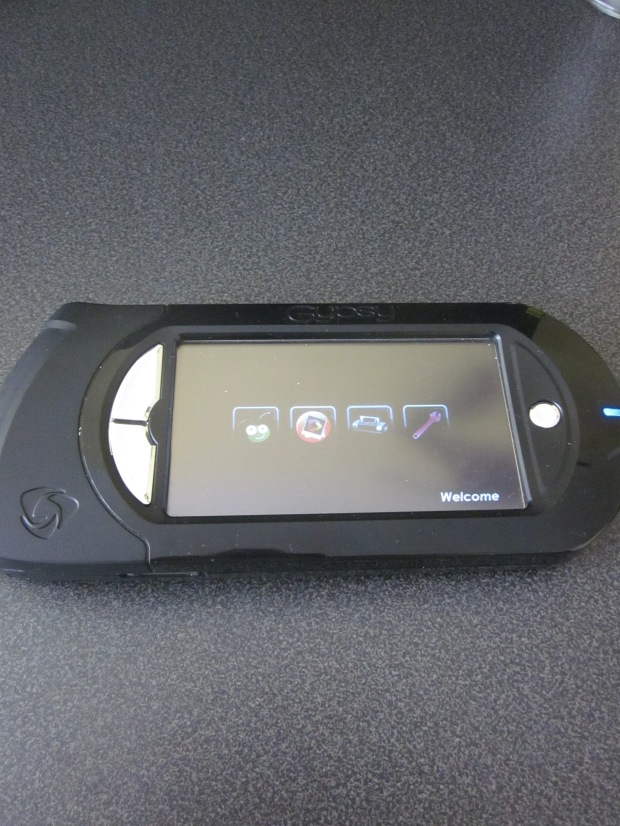 Here we have the gypsy! Another amazing crafting tool. This is where I created the design I wanted to etch. It’s convenient because all of the cartridges that go with the cricut cutting machine are uploaded here and all in one place. The gypsy allows you to choose what size mat you want to design on, then you get to work laying out exactly what you want to cut!
  After you’re done designing on the gypsy, connect it to the cricut cutter, load the mat with the vinyl stuck to it, and hit cut!
 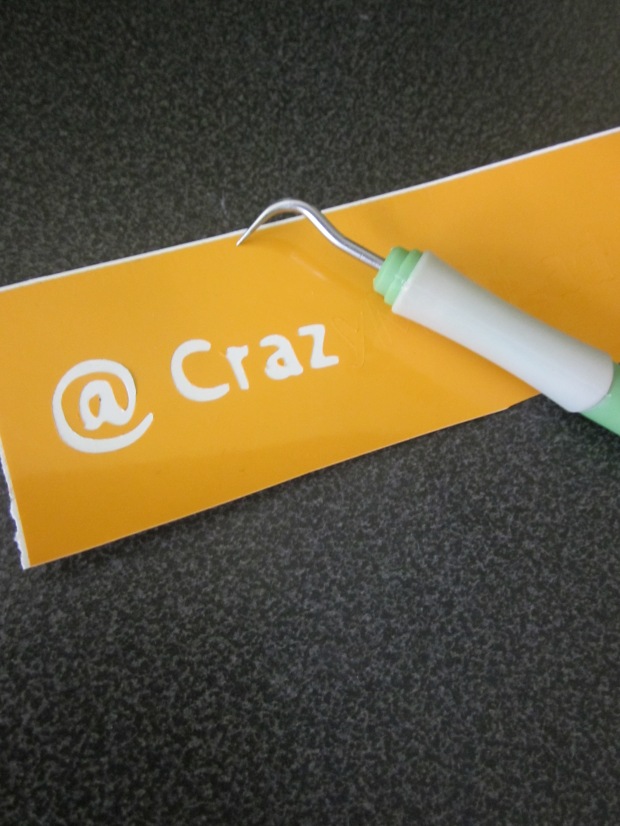 Once the design is cut out unload the mat and peel the vinyl off the mat. Now, since we’re etching what you want to do is remove the letters (or whatever your design happens to be) and keep the outline. Be sure to be careful with those pesky a’s, e’s, b’s, etc.! (This tool I used came in a cricut kit my mom picked up)
 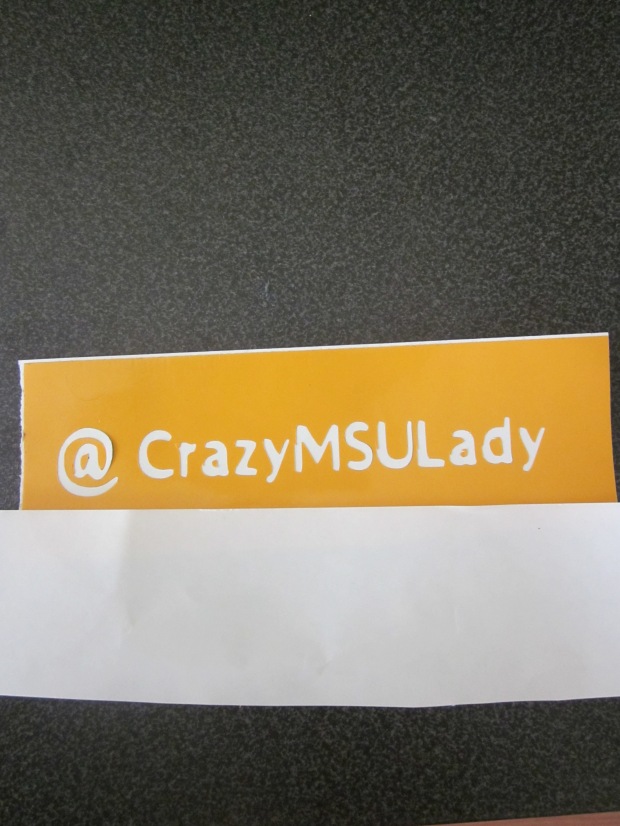 After you’re done removing all the letters, cut your contact paper to size
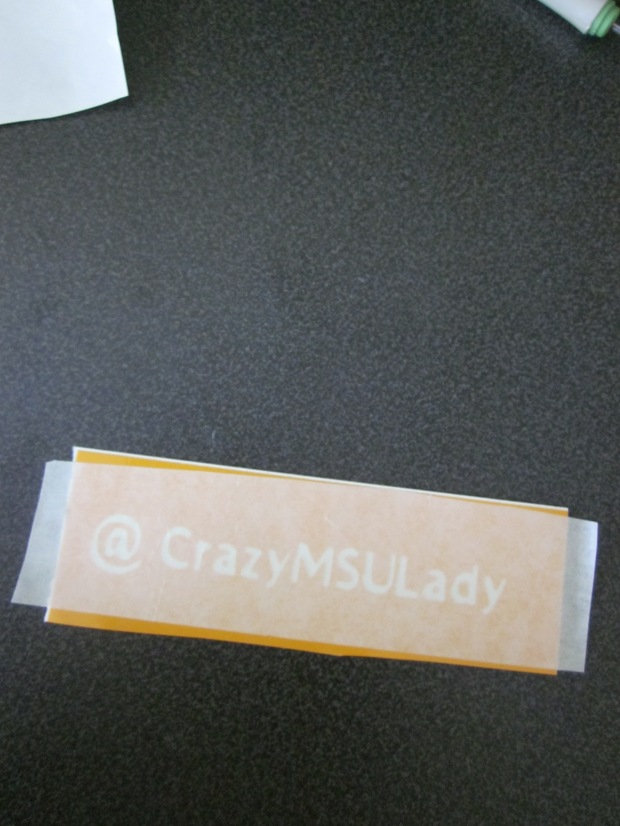
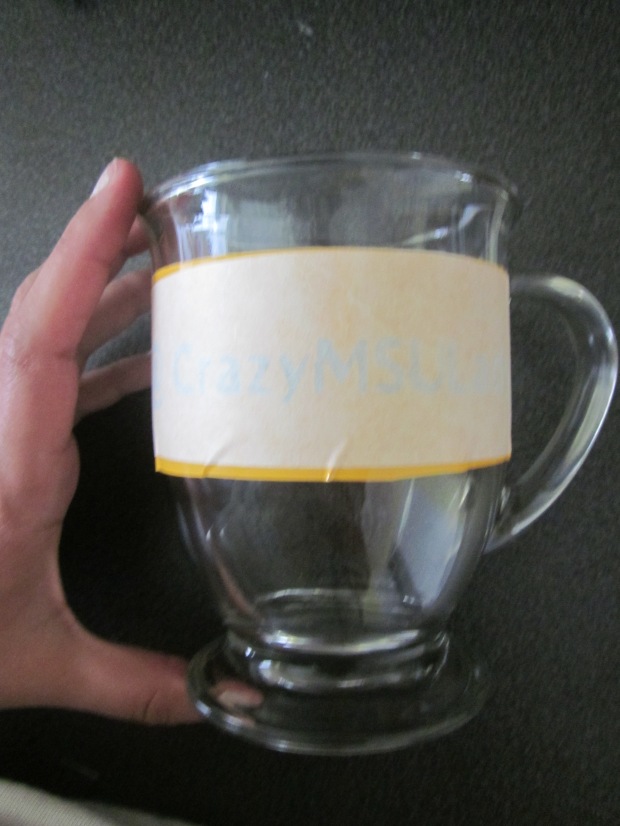 Once the contact paper is stuck to the vinyl slowly start to peel back so the vinyl is removed from its paper backing, once again being careful of those pesky a’s, e’s, etc. Next line it up and stick it to the glass. Remove the contact paper leaving just the vinyl stuck to the glass. This next part is uber important make sure there are no air bubbles surrounding the letters and the vinyl is completely smooth. If the glass etching compound finds any air bubbles it will fill that area and you’ll end up with areas etched that you do not want etched. This has happened to us a few times and starting over from the beginning is no fun.
 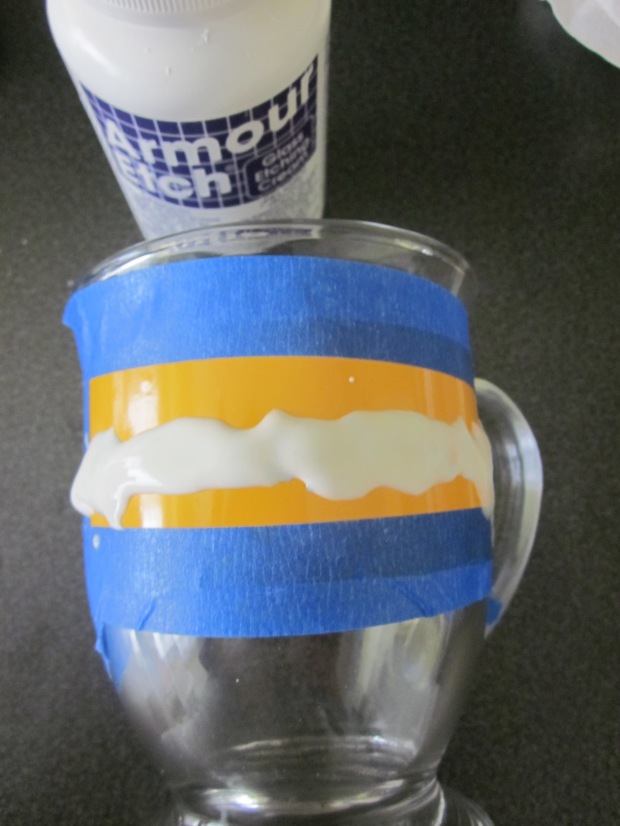 Next, use the plastic tool to apply the etching compound to the glass. Use a generous amount and make sure that ALL areas are covered. Leave the compound on for 10 minutes. This mug was a little bit tricky, because it wrapped around I had to keep adjusting the etching compound so it didn’t slide down onto the glass. When the 10 minutes are up, scrape the excess etching compound back into the container (the compound can be a bit pricey, so we save as much as possible at this house!). Rinse the mug with water, making sure you wash off the rest of the glass etching compound, and peel off the tape and the vinyl.
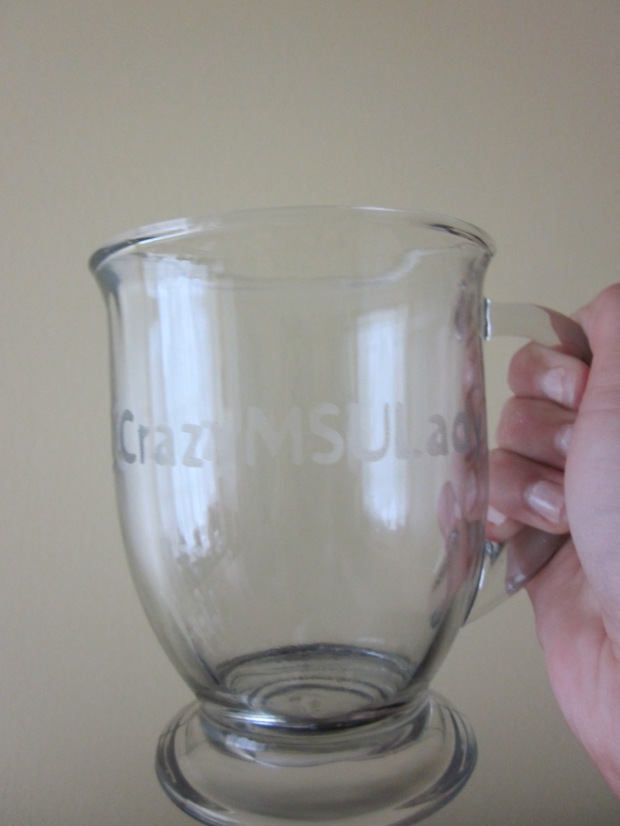
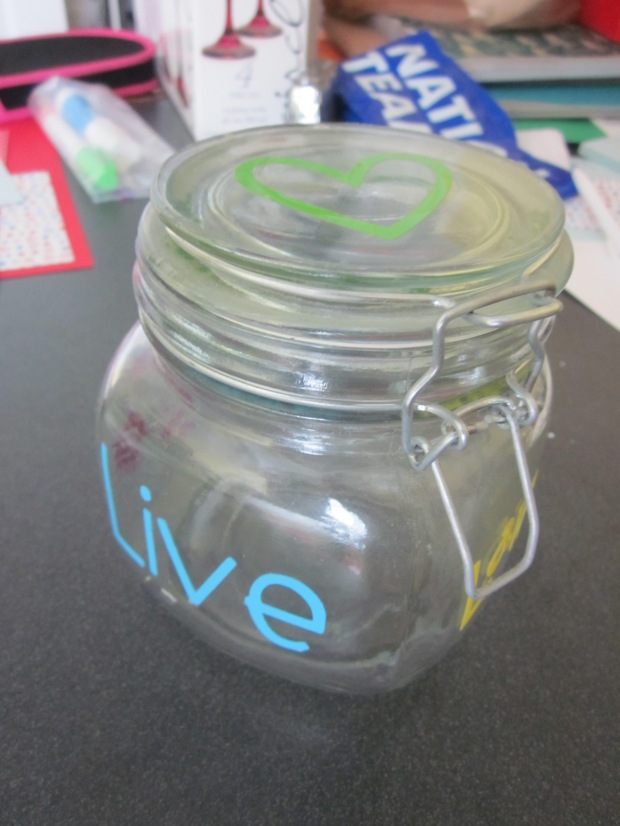
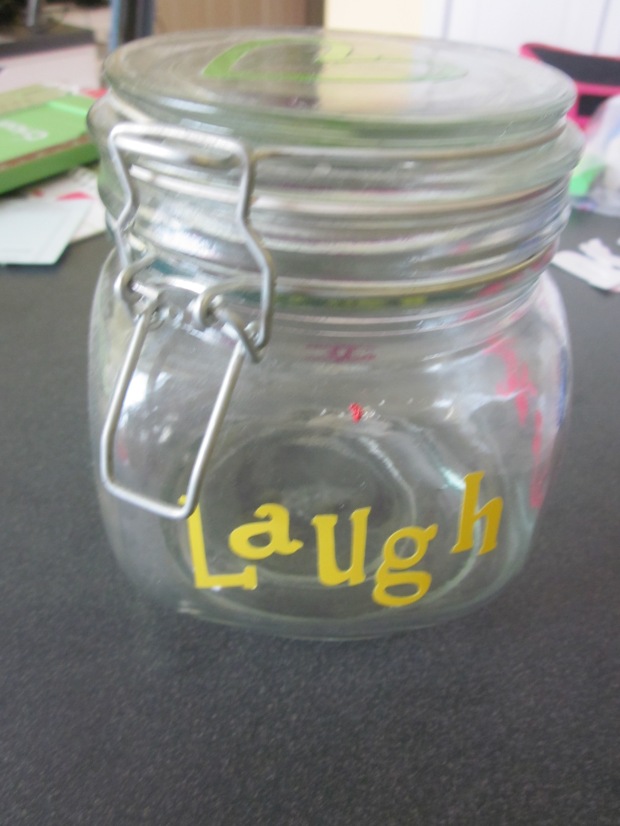
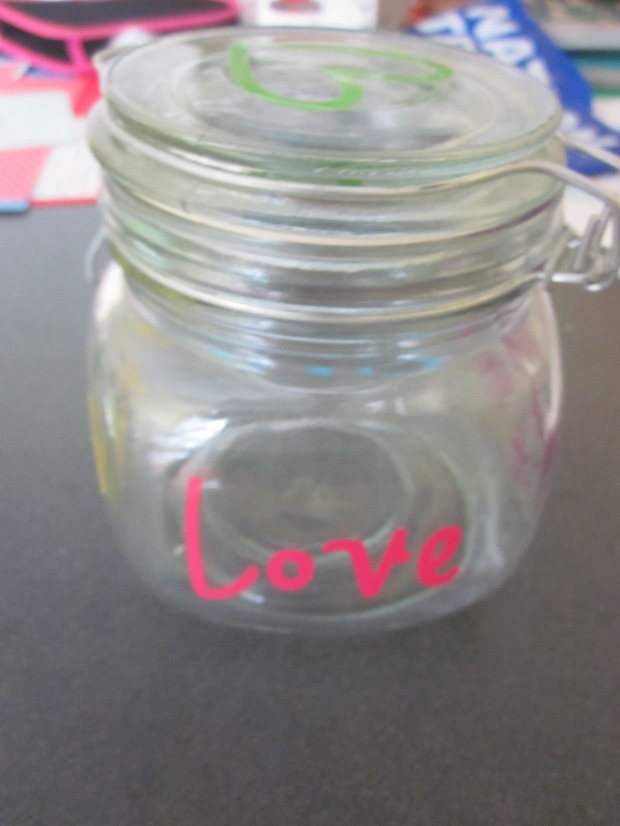
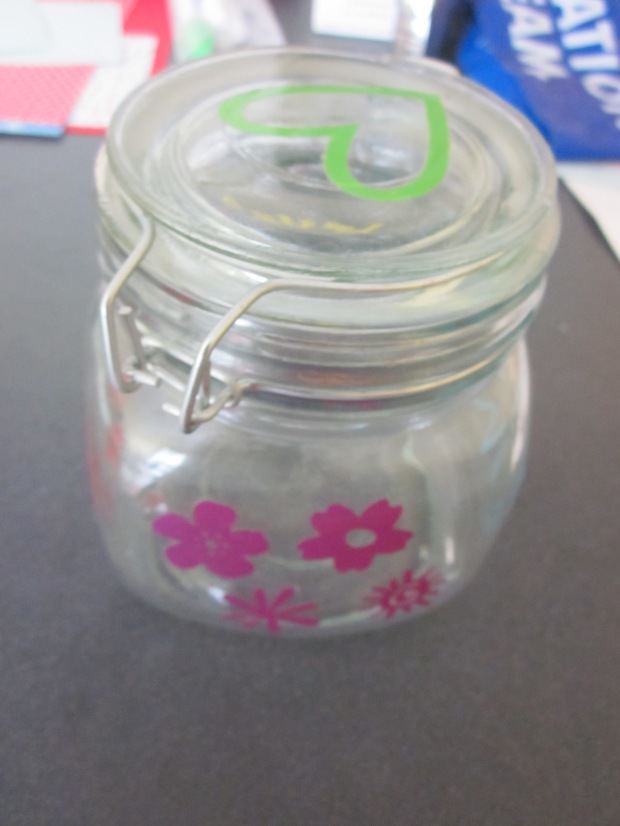
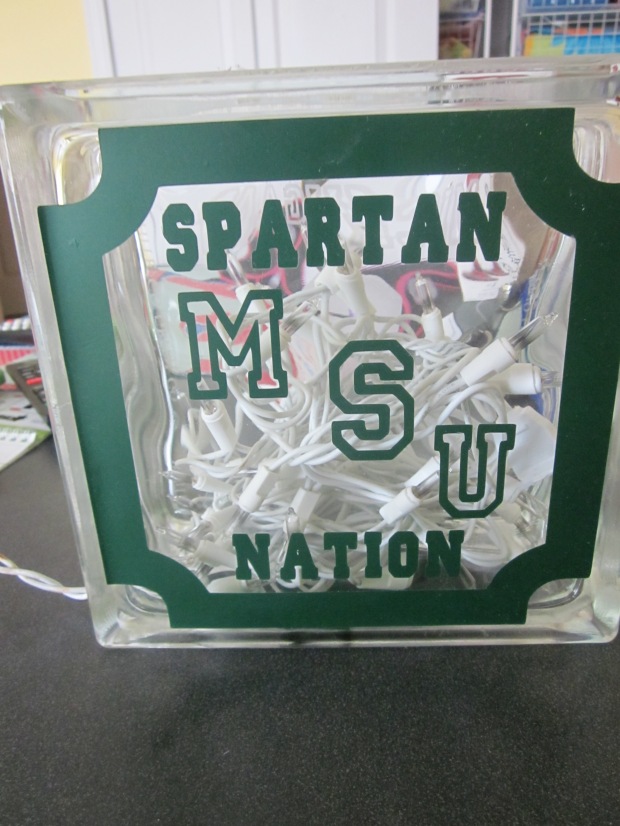
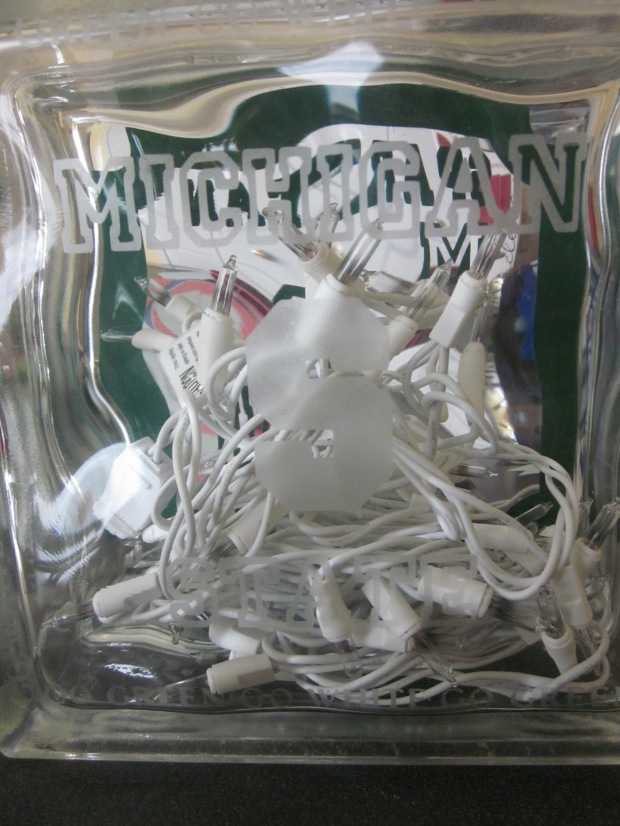
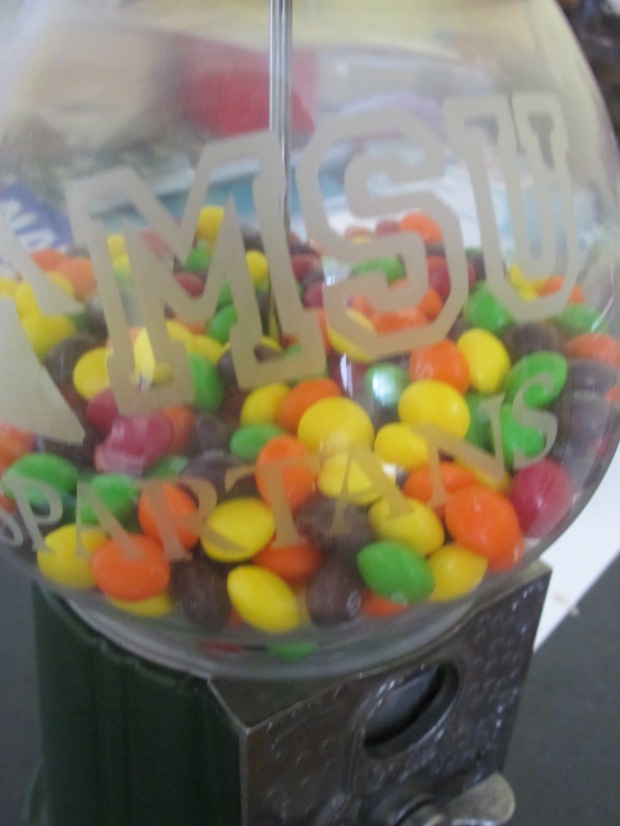
And VOILA! A super fun, personalized gift! My mom and sister are super crafty. Awesomely crafty. And I do what I can ;) so over the years we’ve created quite a few gifts (if we’re close you probably have some kind of personalized mug or wine glass from me) and decorative items for our dorm rooms/apartments at school! Below are some of the things that were hanging around my apartment when I lived at MSU. **Apology for the poor camera quality/bad lighting. One day I’ll get a super cool DSLR camera but until then it’s my trusty Canon digital camera and iPhone to the rescue :)
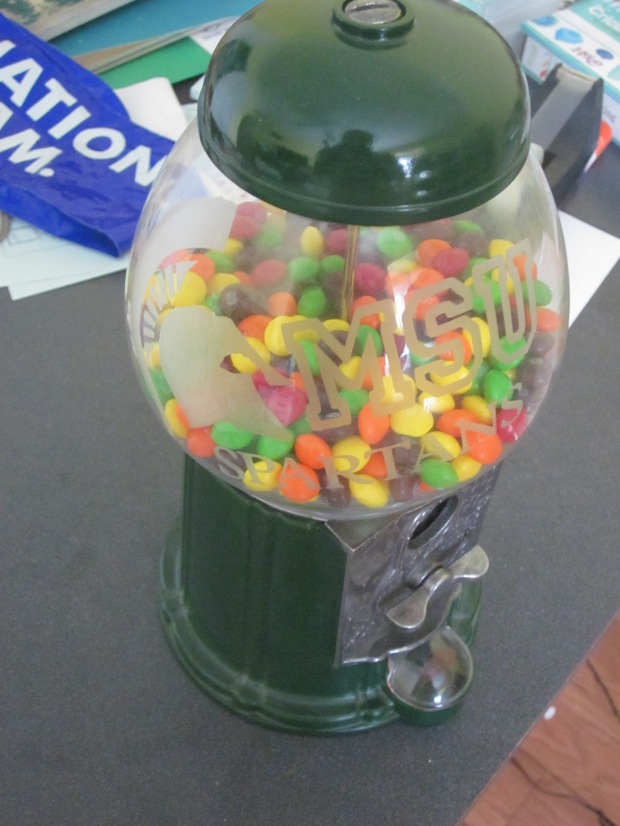
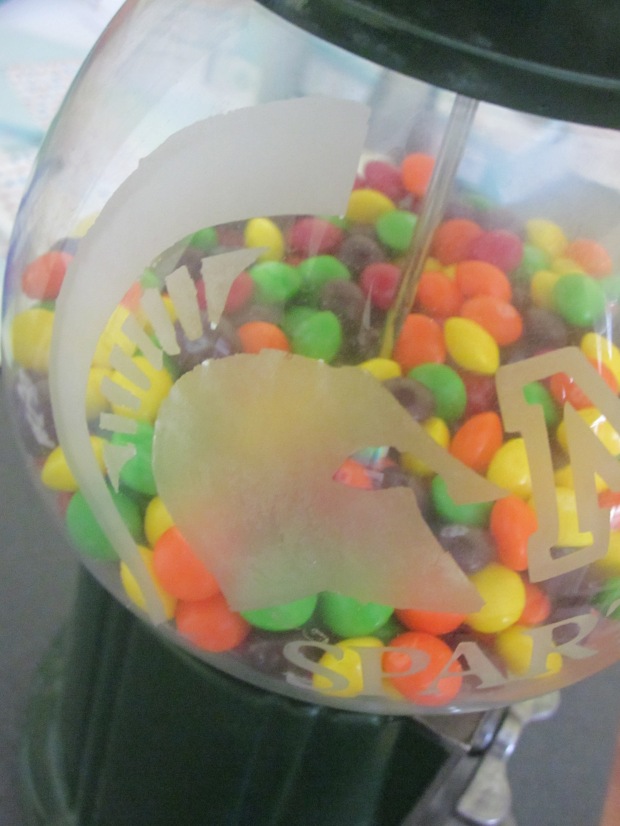
 That skittle machine was a labor of love y’all! There is no Spartan helmet on any of the cricut cartridges (BUT if they made one my life would be SO much easier!) and I had to print it, trace it on to vinyl, cut it with an exacto knife, then etch it. It took for-ev-er. But so worth it.
I hope you enjoyed it! If you don’t happen to have a cricut machine, or gypsy for that matter, I have seen people simply cut out and arrange stickers then apply the glass etching compound the same way :)
I LOVE personalized gifts. Tim keeps telling me to open up an Etsy store, but we’ll see! (Don’t worry MSU licensing, I know the rules ;)